Guidelines: part iii
more tools & tips
The third part of the Camp's guidelines will include more Tools explanations and some tips about creating a banner.
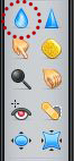
There are many other Tools to use for your image. For example, Blur, Sharpen, Sponge, Burn. Let's see how we can use some of those to transfigure the Trio's image.
There are many other Tools to use for your image. For example, Blur, Sharpen, Sponge, Burn. Let's see how we can use some of those to transfigure the Trio's image.
Blur Tool
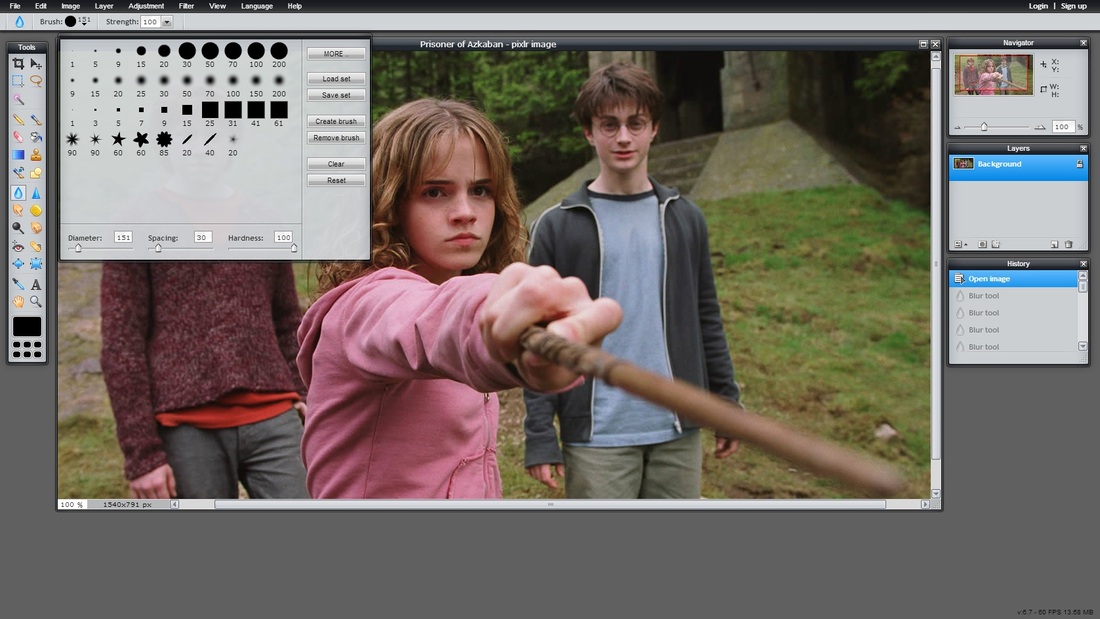
Well, let's say I want to blur Hermione's face. Why would I want to blur Hermione's face? Because she's a know-it-all! No, I'm kidding. Let's try the Blur Tool from the Tools on your left. Once you left-click on Blur, you can see that you can change the Brush and Strength of the tool. Play around and always remember that you can go back if you don't like your outcome.
Well, let's say I want to blur Hermione's face. Why would I want to blur Hermione's face? Because she's a know-it-all! No, I'm kidding. Let's try the Blur Tool from the Tools on your left. Once you left-click on Blur, you can see that you can change the Brush and Strength of the tool. Play around and always remember that you can go back if you don't like your outcome.

Sponge Tool
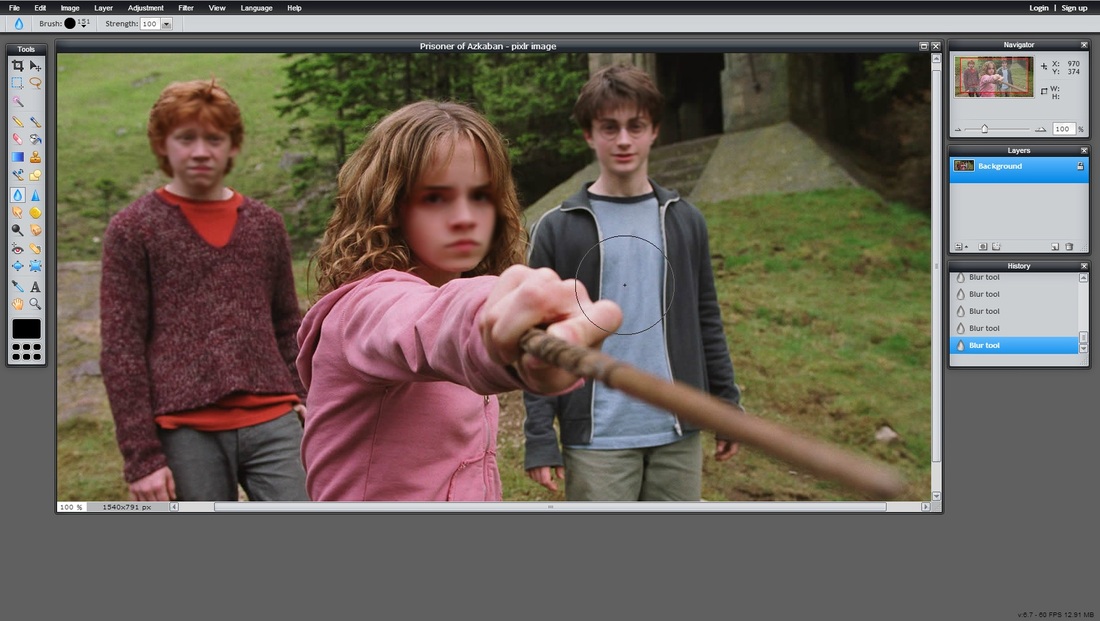
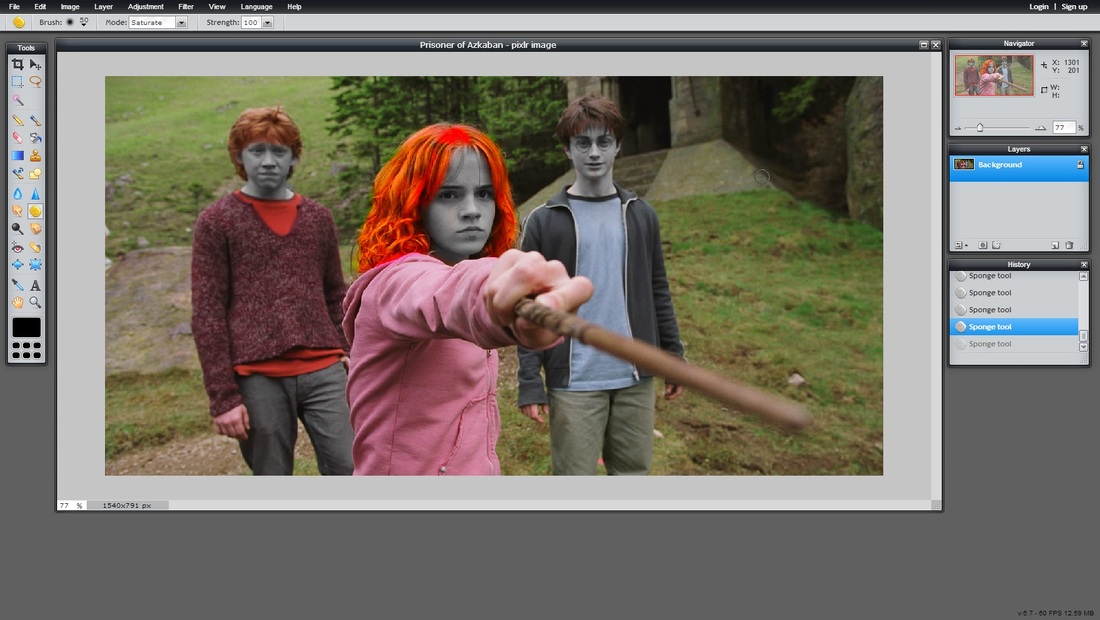
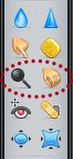
The Sponge Tool is a useful tool if you want to either enhance the colours of a certain area (Saturate) or to take the colours away (Desaturate). You can find the two options on the top, as shown is the screenshot. See what I did to the Trio's faces? This is Desaturate. But Hermione's hair was done with Saturate. You can always change the Brush of the Sponge and the Strength.
The Sponge Tool is a useful tool if you want to either enhance the colours of a certain area (Saturate) or to take the colours away (Desaturate). You can find the two options on the top, as shown is the screenshot. See what I did to the Trio's faces? This is Desaturate. But Hermione's hair was done with Saturate. You can always change the Brush of the Sponge and the Strength.
Burn & Dodge Tools
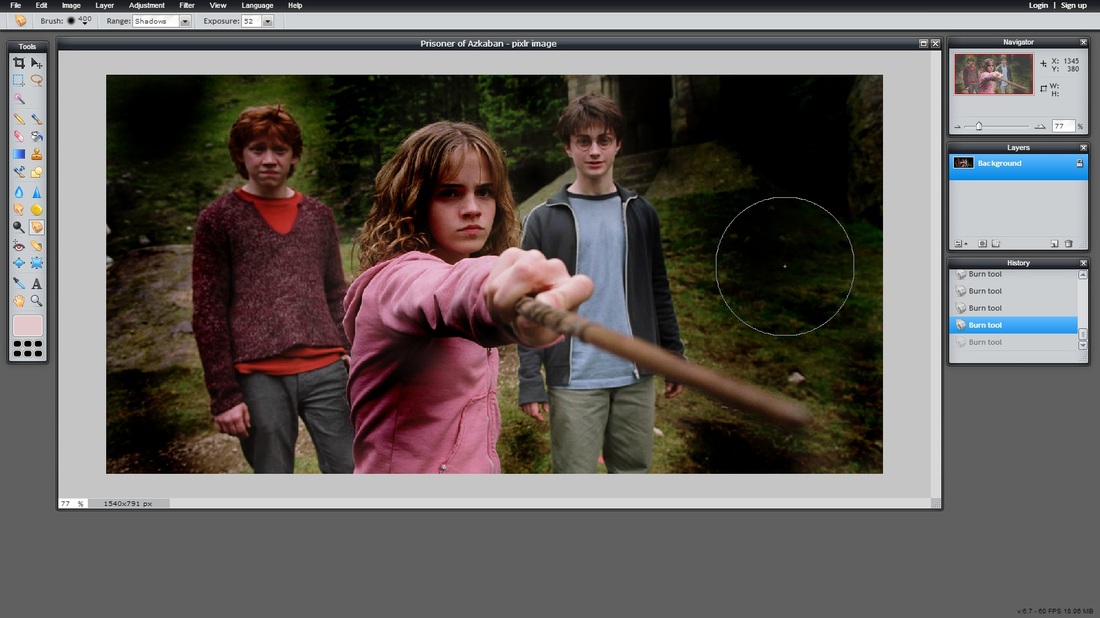
Now let's say you want to play with the exposure of a certain area in your image. No, the deluminator won't do any work! The Burn Tool and the Dodge Tool is what you need. If you left-click on the Burn Tool on your left, you will see the options: Brush, Range (Shadows, Midtones and Highlights) and Exposure. Play with those to see the outcome. Burn Tool will darken your area and Dodge will lighten it.
Now let's say you want to play with the exposure of a certain area in your image. No, the deluminator won't do any work! The Burn Tool and the Dodge Tool is what you need. If you left-click on the Burn Tool on your left, you will see the options: Brush, Range (Shadows, Midtones and Highlights) and Exposure. Play with those to see the outcome. Burn Tool will darken your area and Dodge will lighten it.
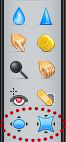
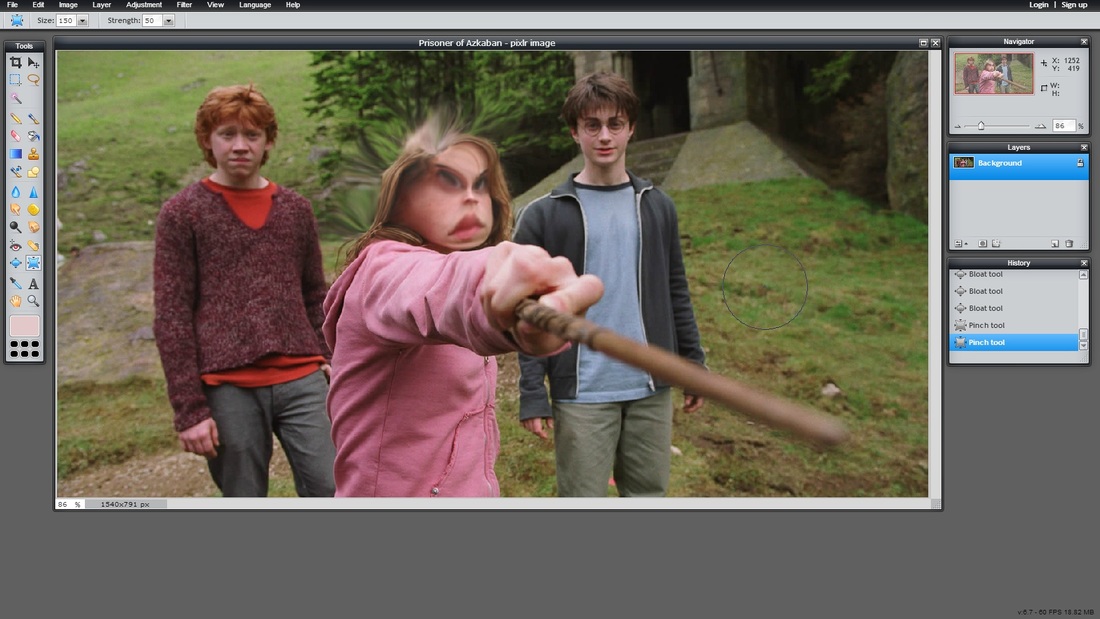
Bloat & Pinch Tools
Now let's say you want to make an area fatter or more slim. These two tools will do the job. See what I did to Hermione's face? Yeah, you can laugh! I only exaggerated to show you the tools. ;-)
Now let's say you want to make an area fatter or more slim. These two tools will do the job. See what I did to Hermione's face? Yeah, you can laugh! I only exaggerated to show you the tools. ;-)
Now that you learned some basic things on image manipulation, you can create any image you like, a signature, an avatar, and, what else, A BANNER!
First of all, every design process starts with an idea. Search the web for some pictures you want your banner to have, visualize your banner in your head or draw it by hand. Then there are the rules you have to comply with so that your banner submission is valid. Check those in our Graphics Camp, so that your submission meets the requirements.
HOL's banner has specific dimensions: W954 x H128. This means when you start your project you have to take this into consideration. We already talked about Image Size and Cropped Output. Take the guidelines as an example and continue with your work.
Tips
- How to start your banner
The easiest thing to do is to Create a New Project and put in the dimensions of the banner (W954 x H128 for ours). Then you add a background image or many images you previously made. You synthesize all of them, add your text and done!
- Picking your text
Let's say you finished with your image and you want to add a text to it. The best way to make it blend in well with your image is firstly to write the text in black with a simple font and then change all things you want. You choose a font that suits with your picture's theme. You can't make a Harry Potter graphic and use Lord of the Rings letters. "It's wrong!" (as Buffy would say) Then the best way to choose a colour for your text is to pick a colour from your image. It always blends in and you can always change the layer styles.
